Drywall And Paint Prep
Full Home Remodels
Kitchen Remodels
Bathroom Remodels
Basement Finishing
Interior Painting
Exterior Painting
Flooring
Cabinetry Work
More then 25
Years Of Experience!
Surfaces Prepared to Hold Up Long-Term
Drywall and Paint Prep in northeast ohio for walls showing visible seams, surface irregularities, or prior patch failures
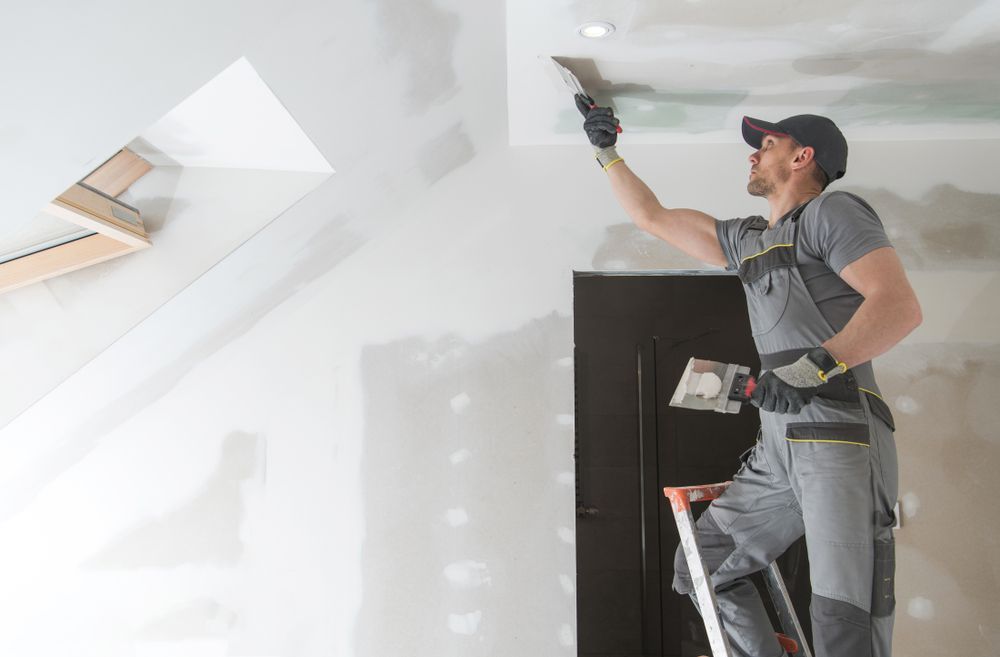
We handle drywall and paint prep work with a focus on surface quality that directly affects how long a finish lasts. Proper preparation involves more than filling holes—it requires evaluating substrate condition, feathering repairs outward to avoid visible edges, and sanding in stages to create a uniform surface that accepts paint evenly. When walls show tape lines, dimpled screws, or repaired areas that telegraph through paint, the issue is almost always in the preparation stage, not the finish coat.
The process begins with identifying which surfaces need attention: compound application over fasteners, re-taping separated seams, patching damaged sections, and addressing texture inconsistencies. Each repair is built up in thin layers rather than one heavy application, which prevents cracking as the compound cures. Sanding happens after each layer dries, using progressively finer grits to eliminate ridges and create smooth transitions between repaired areas and existing wall surfaces.
Schedule a property walkthrough to review current wall conditions and identify preparation requirements before any finishing work begins.
What Proper Preparation Requires Before Paint
Effective drywall prep involves repairing damaged areas with joint compound applied in multiple coats, each sanded flat once dry. Fasteners are set slightly below the surface and covered with compound in three passes—first coat fills the dimple, second coat levels the surface, and third coat feathers the edges. Corners and seams receive embedded tape before compound application to prevent future cracking along joints.
After preparation is complete, you will notice walls that reflect light evenly without shadowing from ridges or depressions. Repaired sections blend invisibly into surrounding surfaces, and seams remain flat without raised edges or visible tape lines. The surface feels uniformly smooth under your hand, with no detectable transitions between patched areas and original drywall. We completes sanding and cleanup before any primer or paint touches the wall, ensuring dust does not interfere with finish adhesion.
The quality of preparation directly determines how paint performs over time—finishes applied over poorly prepped surfaces show flaws immediately under angled light and fail prematurely as underlying defects work through the coating. Proper preparation also includes priming bare drywall and patched areas separately, since untreated compound absorbs paint differently than sealed surfaces and creates visible color variation even with multiple finish coats.
What Homeowners Usually Ask
Questions about drywall and paint prep often focus on timing, process details, and how preparation quality affects finished results.
What does surface preparation include before painting starts?
Preparation includes patching holes and cracks, sanding repaired areas smooth, re-taping separated seams, filling fastener dimples, feathering transitions between old and new surfaces, and priming bare compound so it accepts finish coats uniformly.
How does climate in Columbia Station affect drying time for joint compound?
Humidity levels and indoor temperature control how quickly compound cures—higher humidity extends drying time between coats, while forced air heating can cause surface cracking if compound dries too rapidly before interior moisture escapes.
Why do some repairs show through paint even after multiple coats?
Repairs telegraph through paint when compound is applied too thickly in one pass, when edges are not feathered far enough from the repair center, or when sanding leaves ridges that catch light at certain angles and remain visible regardless of how many finish coats are applied.
What indicates a wall is properly prepared and ready for finish work?
Properly prepared walls show no visible seams or fastener dimples under raking light, feel uniformly smooth without detectable transitions, and display consistent surface texture across repaired and original areas when primed.
How many sanding stages are required for quality drywall prep?
Most repairs require sanding after each of three compound applications—first sanding removes high spots and ridges, second sanding blends feathered edges, and final sanding with fine-grit paper creates a smooth surface that does not show tool marks or scratch patterns under paint.
We completes all preparation work before any finish application begins, allowing homeowners to inspect surface quality and confirm readiness. Request an estimate that outlines preparation requirements specific to your current wall condition and planned finish work.